
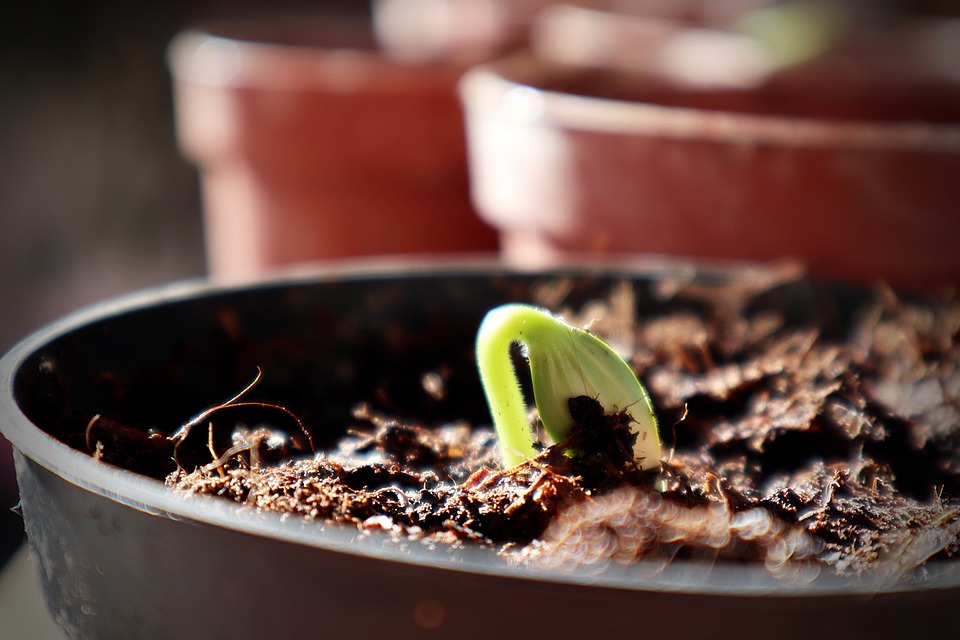
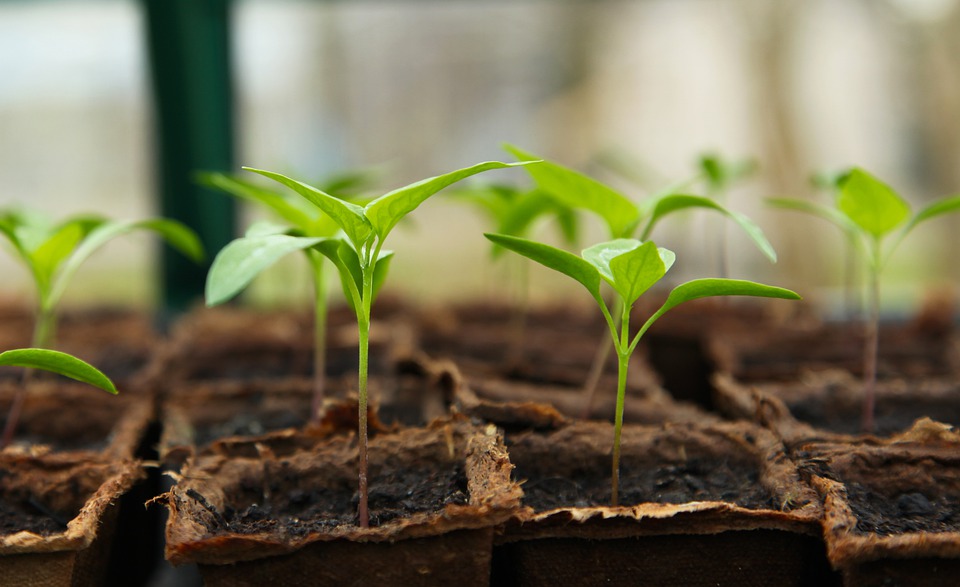
Seed Starting is one of the easiest, and most inexpensive, ways to grow plants. It’s also a fun way to teach children about the life cycle of a plant and maybe even inspire a lifelong love of gardening.
Whether you’re starting vegetables, herbs, or flowers, this step-by-step seed starting guide will walk you through everything you need to know; from reading a seed packet to transplanting strong, healthy seedlings.
Understanding the Anatomy of a Seed Packet
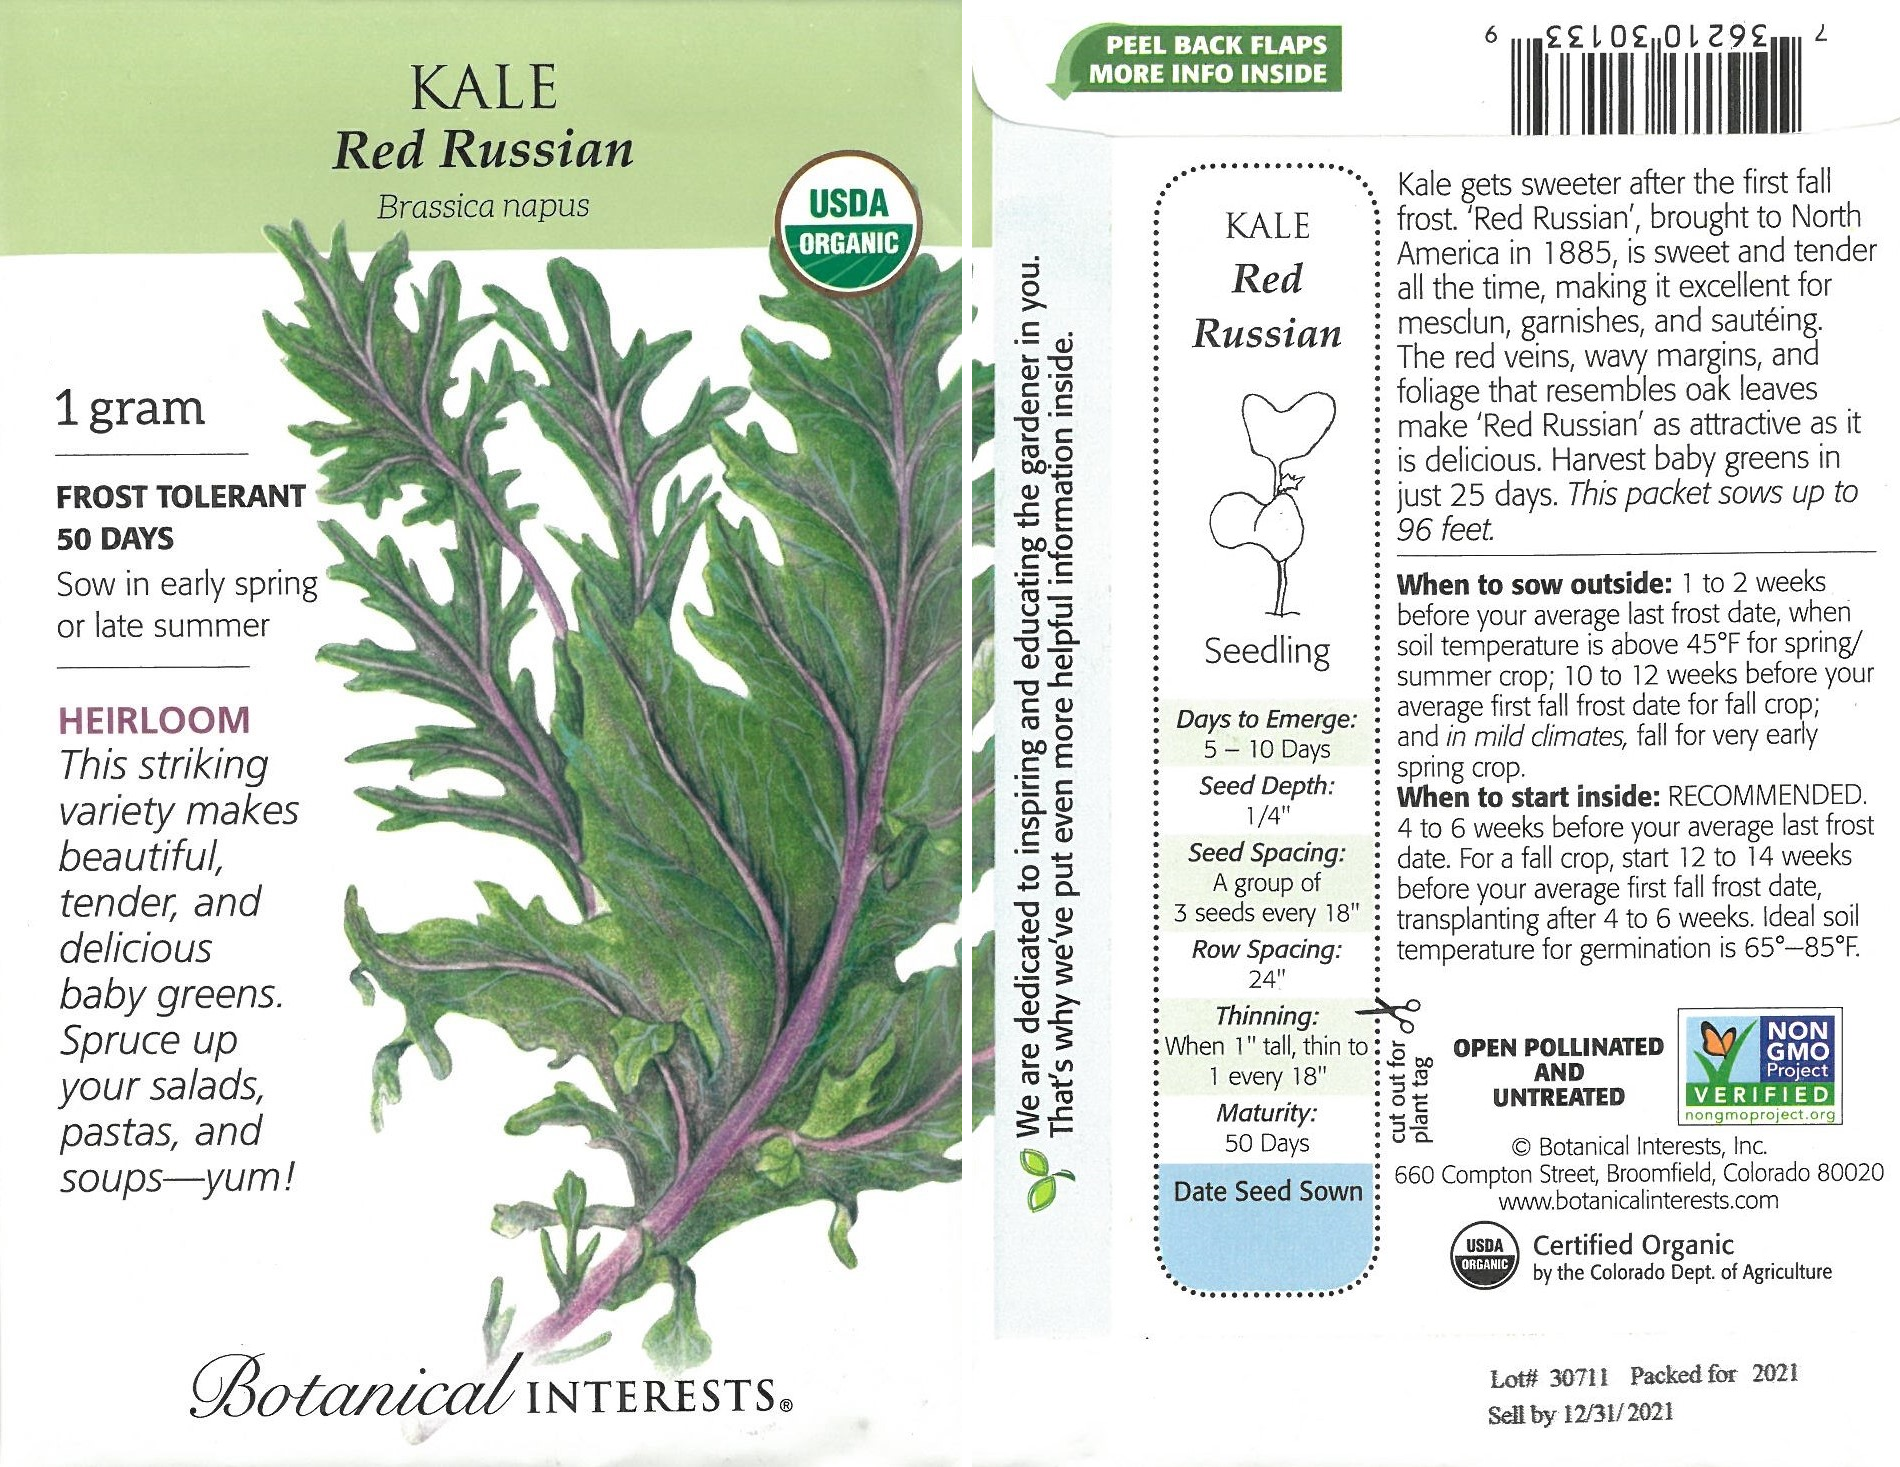
Before you plant anything, take a few minutes to read your seed packet. Seed packets contain nearly all the information you need for successful germination.
Regardless of the company, most seed packets include:
-
Plant name and variety
-
Organic or heirloom designation
-
Growing season
-
Planting depth
-
Spacing between plants
-
Row spacing
-
Days to germination
-
Days to maturity
-
When to start seeds
-
How to start seeds
Some companies, such as Botanical Interests, include instructions for both indoor and outdoor seed starting. Others list only the preferred method.
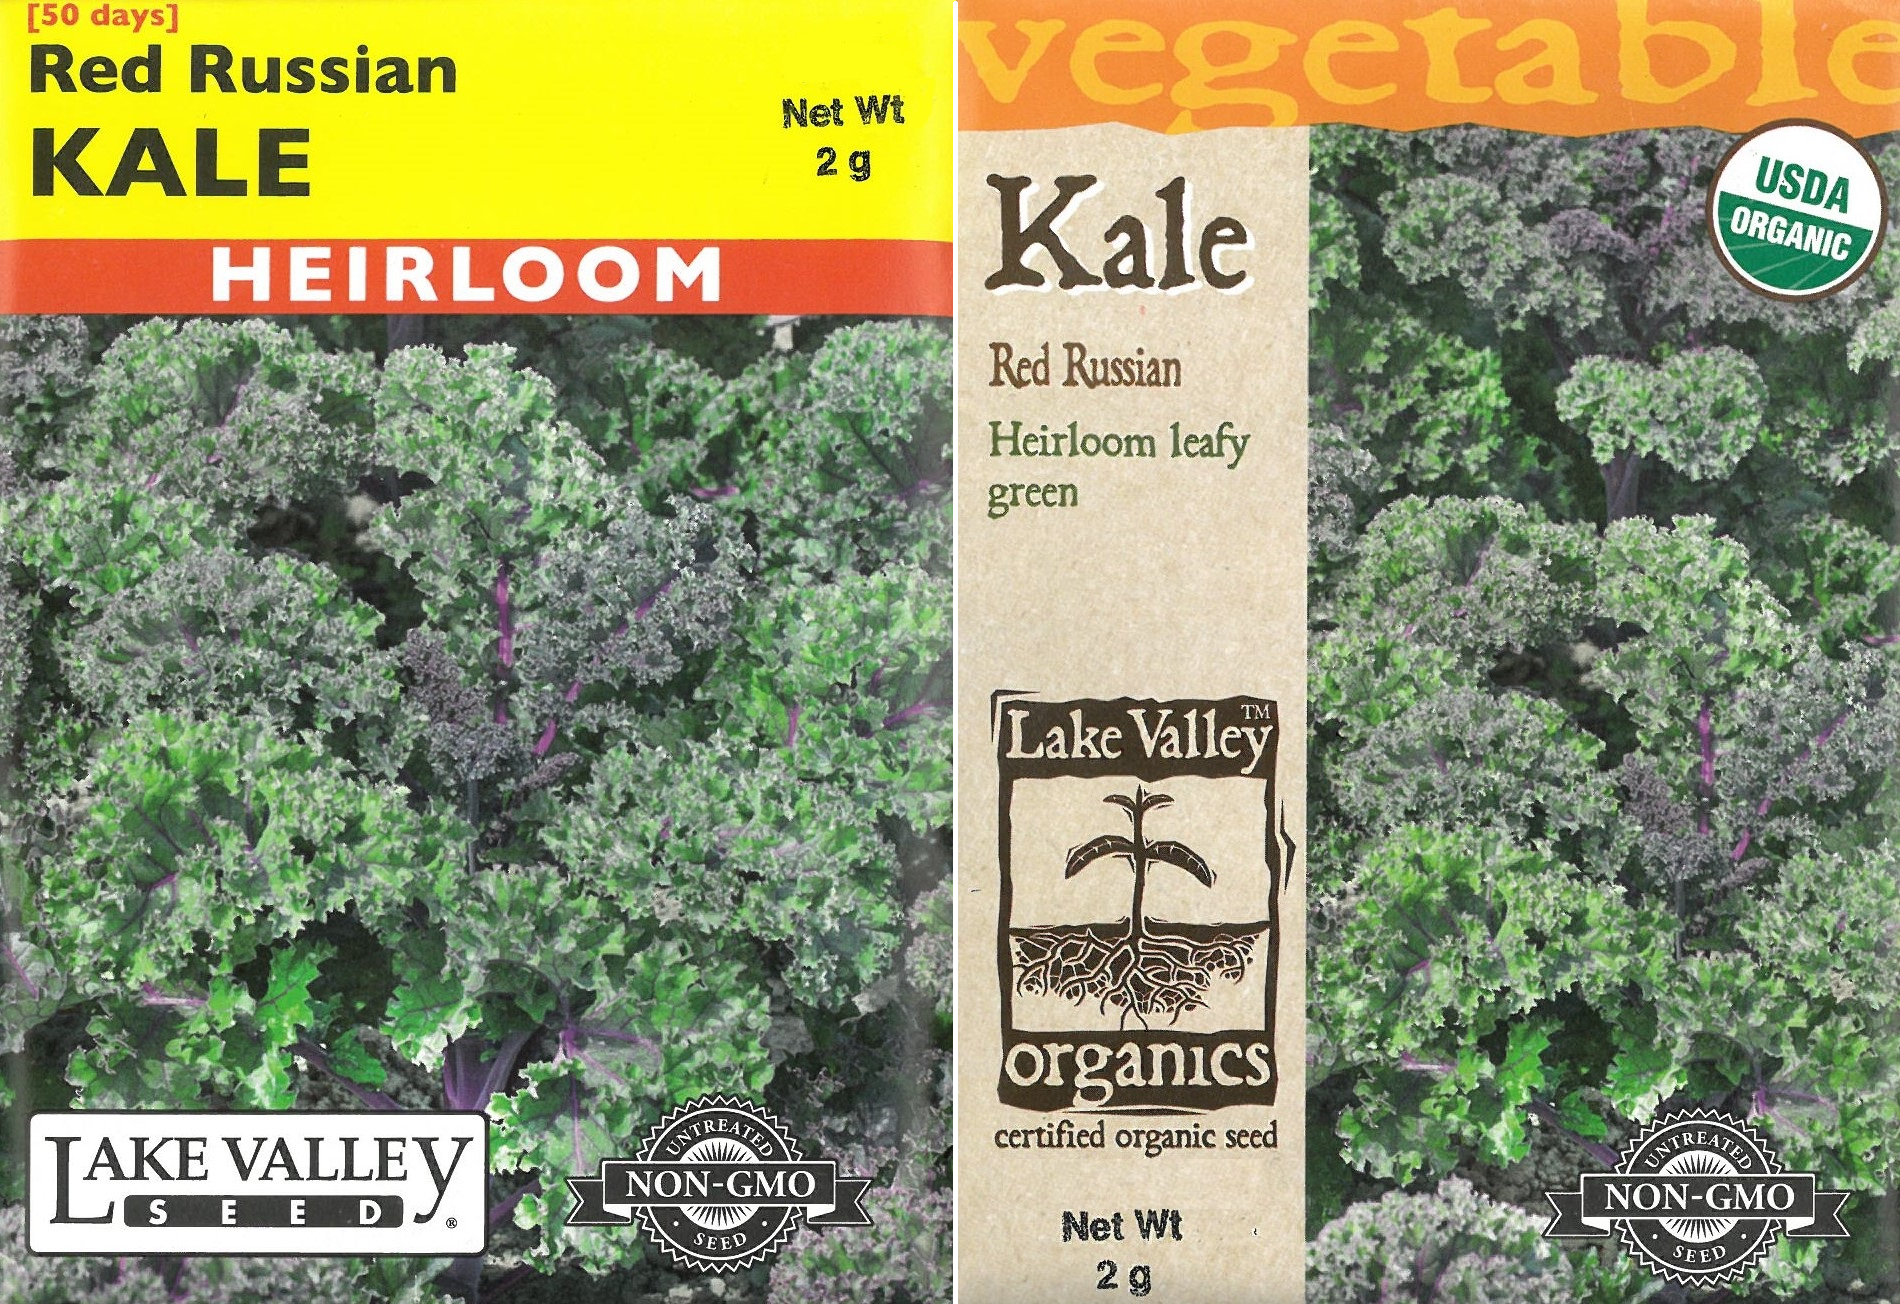
Organic vs. Non-Organic Seeds
Organic seed packets indicate that the seeds were produced following organic growing standards. However, both organic and non-organic seeds can grow healthy plants when cared for properly.
Two Main Methods for Starting Seeds
There are two primary ways to start seeds: outdoor sowing and indoor sowing. Each method has its advantages.
Outdoor Seed Starting

Starting seeds outdoors often produces stronger plants. Because the seedlings grow in their final location, they avoid transplant shock altogether.
Additionally, some crops — such as carrots — do not transplant well and perform best when directly sown.
Step 1: Choose the Right Location
First, select an area that receives the appropriate amount of sunlight for your plants. Then decide whether you will plant in:
-
A garden bed
-
A raised bed
-
Containers
Garden Beds
Garden beds require the most preparation. Begin by removing weeds and existing plants that would compete for nutrients and water.
Next, test your soil for pH and nutrient levels. After testing, loosen the soil, remove debris, and amend with Lobster Compost to improve structure and fertility.
Raised Beds
If you’re building a new raised bed, fill it with Coast of Maine Raised Bed Mix rather than heavy topsoil.
If refreshing an existing bed, add more Raised Bed Soil or Lobster Compost to replenish nutrients.
Containers
Containers work well for patios and small spaces. Choose a container large enough for mature plants. For example, a single tomato plant needs a 5-gallon container.
Always use high-quality potting soil such as Coast of Maine Potting Soil or Raised Bed Mix. Avoid garden soil, as it retains too much moisture.
When to Start Seeds Outdoors
Check your seed packet for planting timing.
-
Cool-season crops can be sown a few weeks before the last frost date.
-
Warm-season crops should be planted a few weeks after the last frost date.
Planting at the correct time dramatically improves germination success.
How to Sow Seeds Outdoors
Follow the depth and spacing instructions listed on your seed packet.
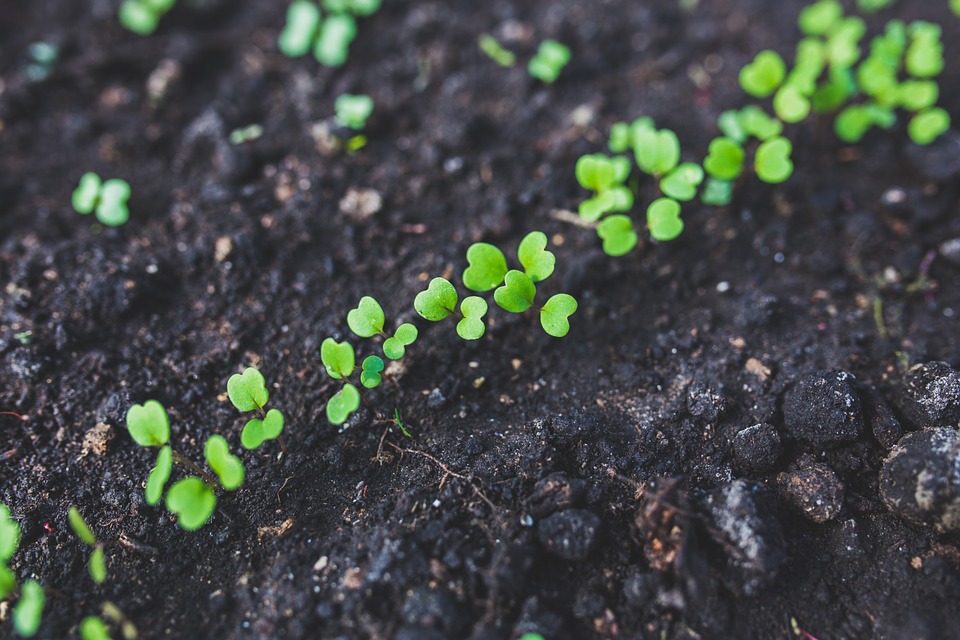
For best results, sow seeds in groups of three. Later, thin out the weaker seedlings, leaving the strongest plant to grow.
Because seedlings are delicate, protect them from heavy rain and unexpected frosts. Row covers provide excellent protection during unpredictable weather.
Indoor Seed Starting

Indoor seed starting gives plants a head start on the growing season. It also allows you to control temperature, light, and moisture levels.
Choose the Right Location
Indoor seedlings need at least 6 hours of bright, indirect light daily. However, 14–16 hours under grow lights produces stronger, more compact plants.
If natural light is limited, use a plant light positioned a few inches above the seedlings.
Choose the Right Soil
Use a lightweight seed starting mix such as Espoma Seed Start Mix.
Seed starting mixes:
-
Drain well
-
Encourage root development
-
Contain no added fertilizer
Avoid topsoil indoors. It holds too much moisture and can cause fungal problems.
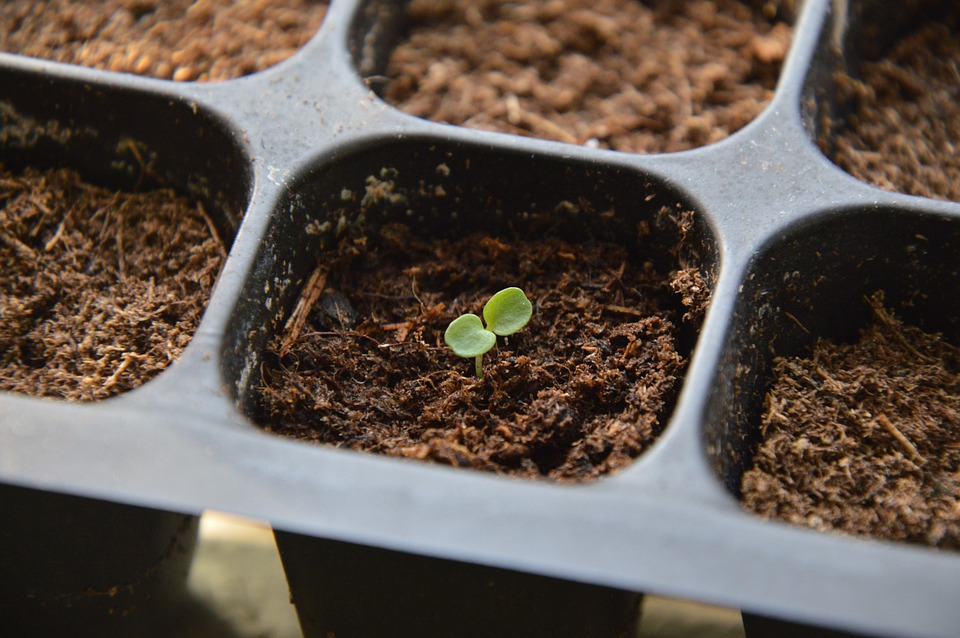
Choose the Right Containers
If starting a large quantity of seeds, use grow trays. For smaller batches, try:
-
Peat pots (plant directly in the ground later)
-
Egg cartons
-
Small paper cups
-
Reused nursery pots
-
DIY newspaper pots
Just make sure every container has drainage.
When to Start Seeds Indoors
Always check your seed packet. Most vegetables should be started indoors 6–8 weeks before your last frost date.
Starting too early often results in leggy plants that outgrow their containers before outdoor conditions are suitable.
Transplanting Seedlings
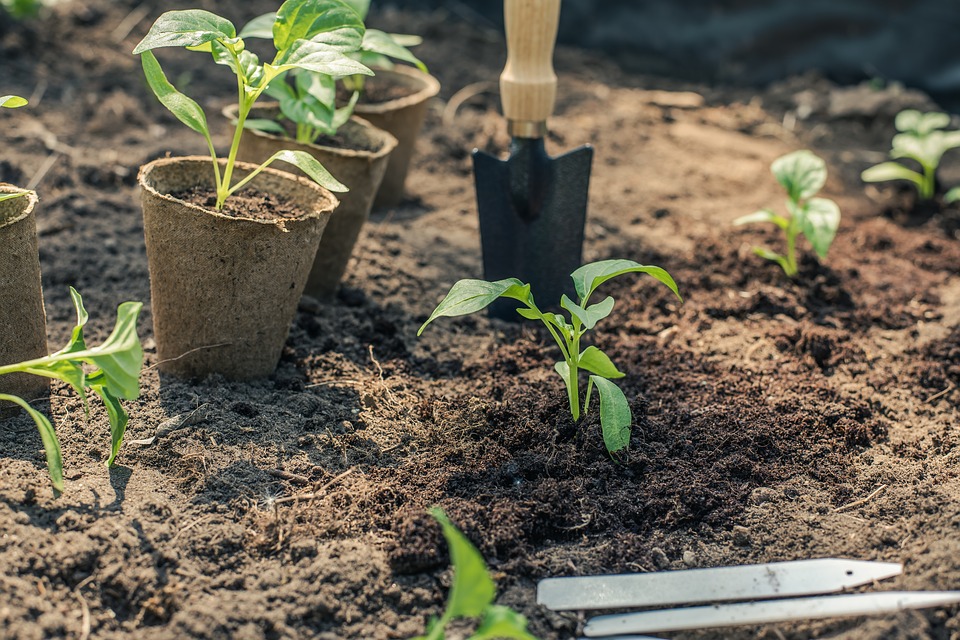
When your seedlings are ready to move outdoors, don’t rush the process.
First, harden them off. This means placing them outside for short periods each day, gradually increasing exposure over 7–10 days. This process prevents transplant shock.
If you used biodegradable pots, plant them directly in the soil. Otherwise, gently remove seedlings from plastic containers before transplanting.
After planting, install supports such as tomato cages or trellises immediately to avoid disturbing roots later.
Watering Seedlings Properly
Keep soil evenly moist but never soggy.
Instead of pouring water directly onto seedlings, use:
-
A spray bottle
-
A gentle watering can
Water the soil, not the leaves. Wet foliage encourages fungal issues such as damping off disease.
Fertilizing Seedlings
Seeds contain enough nutrients to germinate. However, once seedlings develop their first set of “true leaves,” they benefit from light feeding.
Start with a gentle fertilizer such as Espoma BioTone. As plants mature, transition to GardenTone or FlowerTone.
Always follow label instructions carefully to avoid overfeeding.
Additional Seed Starting Tips
If you’re new to seed starting, begin small. Two or three seed packs are plenty for your first season.
When growing fruits and vegetables, choose varieties you know you’ll eat.
Use plant labels to stay organized, especially if you’re growing multiple varieties.
Finally, remember that seeds have a shelf life. Most remain viable for 1–2 years, although germination rates decline over time. Always check the packaging date.